
Contents
Learn how to use groups to assist with Duo administration.
Overview
You can use groups to organize and manage users in Duo. For example, a group can be associated with a particular Duo application and configured so that only users who are members of that group can authenticate to that Duo application. You can change the status of a group to quickly enable or disable multiple users at once. You might also find groups useful for reporting and logging purposes, such as viewing authentication activity only for members of a particular group.
Your group memberships in Duo do not have to be mutually exclusive. Suppose that you have one application for standard use and another application for network administrator use. A network administrator could be a member of two groups, each associated with one of these applications.
The Group Management feature is part of the Duo Premier, Duo Advantage, and Duo Essentials plans.
Listing Groups
-
Log in to the Duo Admin Panel and click Groups in the left sidebar.
The Users table shows group names, the group's authentication status, the number of members, and the group's description, if you entered one. Groups managed by directory sync show
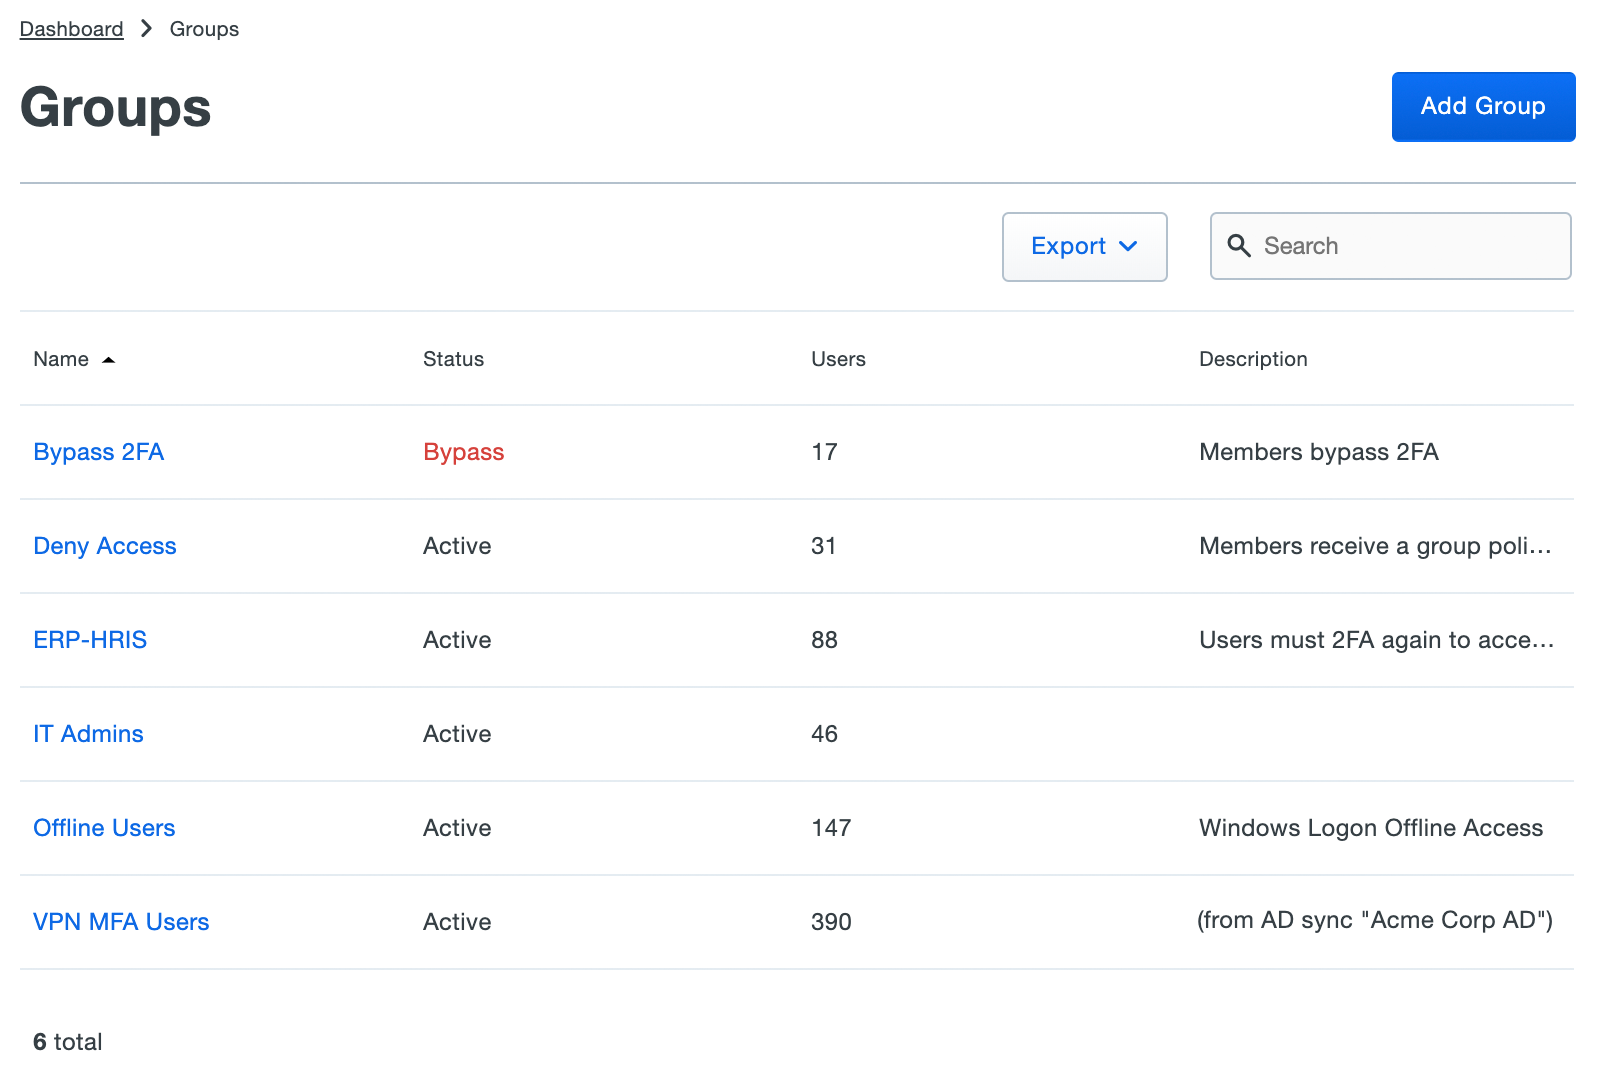
Click the Export button in the upper right side of the log display and select CSV to download information about your Duo groups. The resulting file contains details about the groups and the users in each group. No details are exported for empty groups.
You can also select Print to print the current page.
-
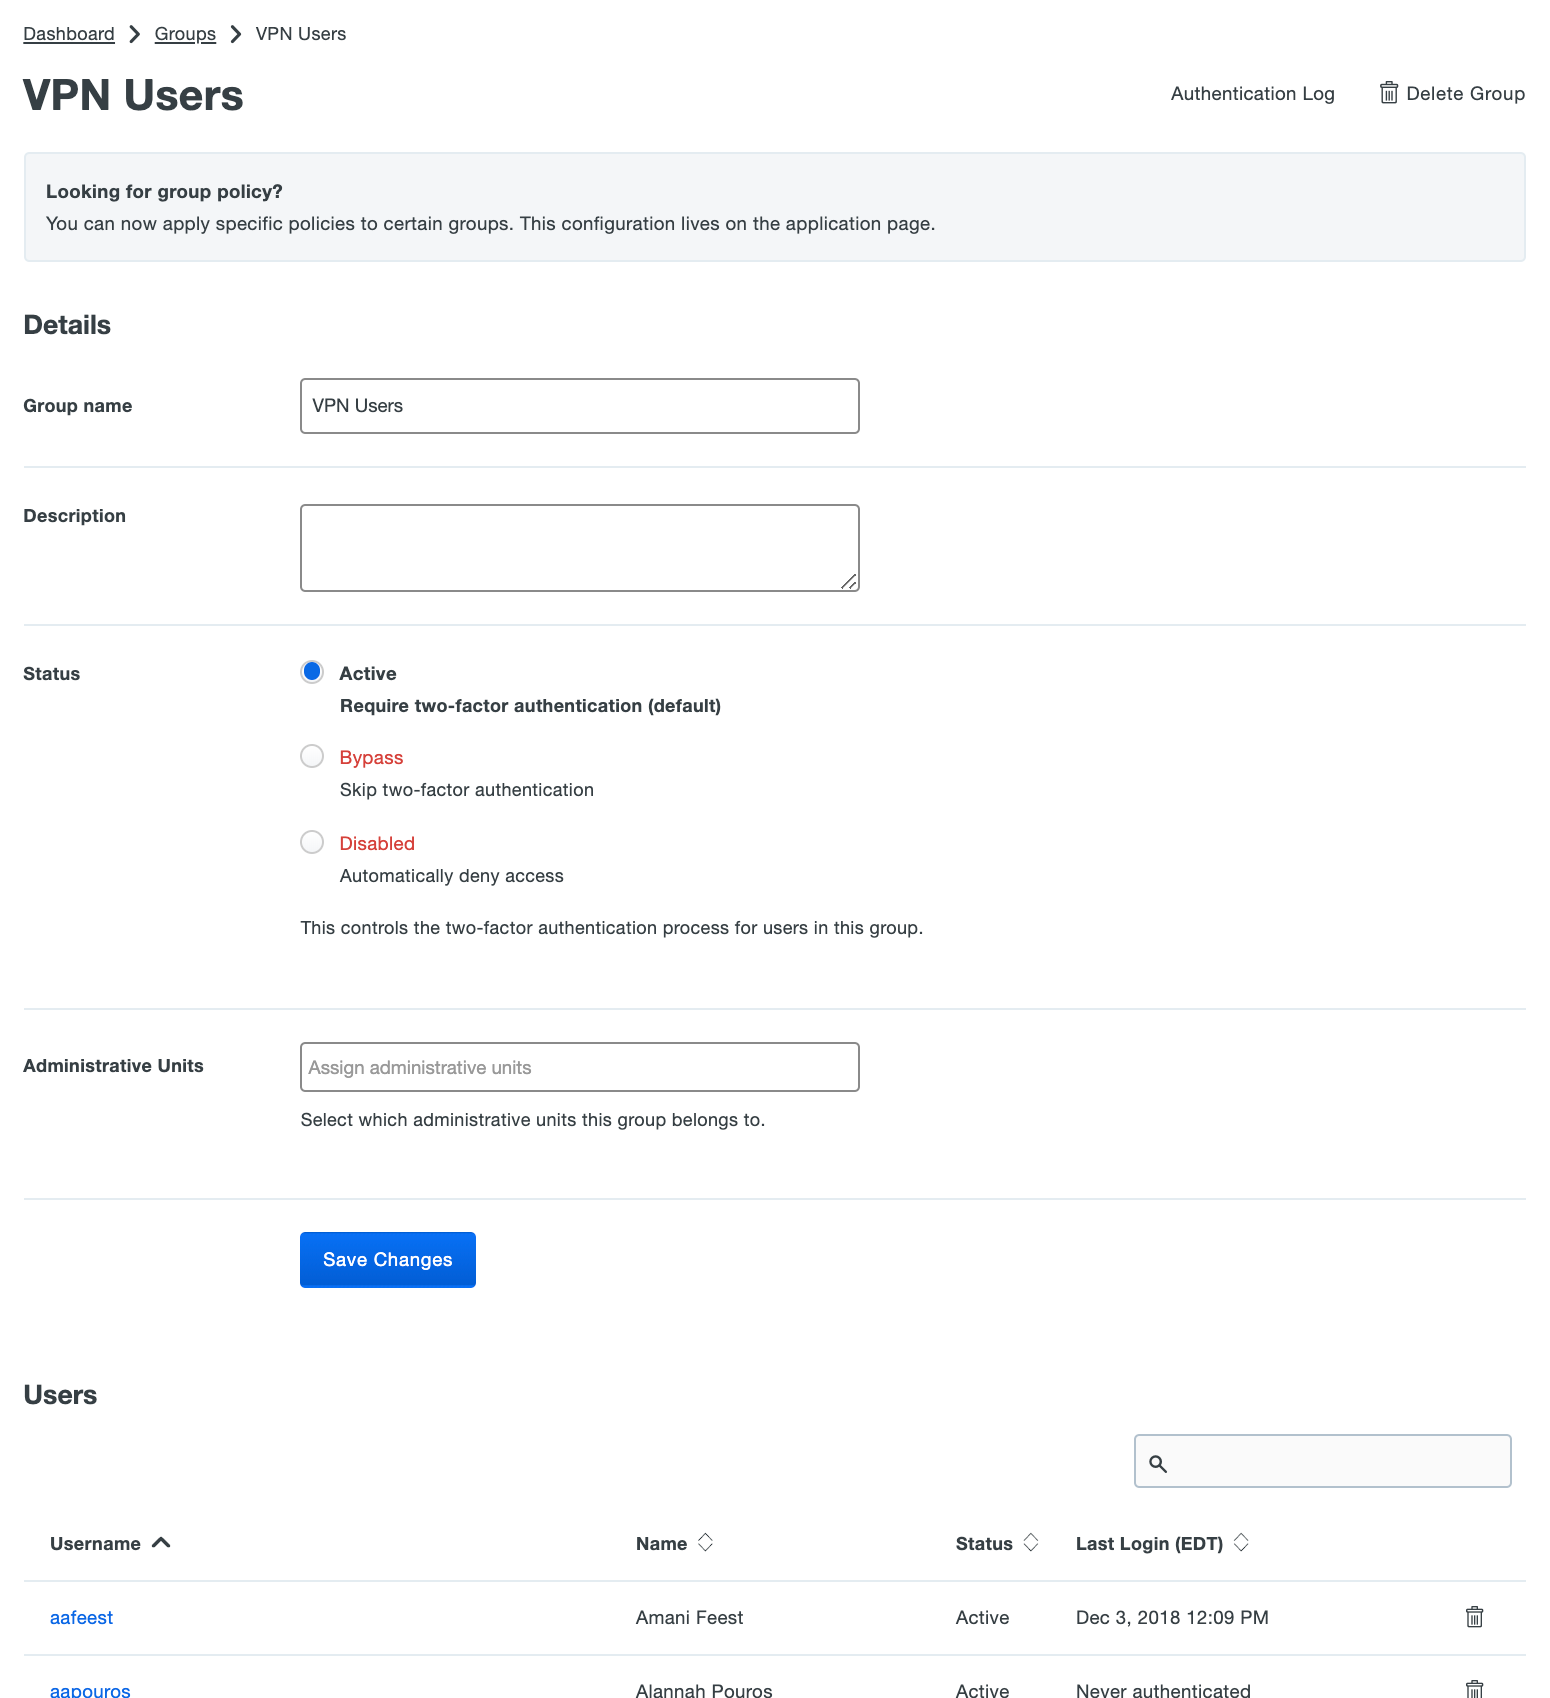
Clicking on a group's name displays details about that group, including status and administrative unit information. Scroll down to the bottom of the page to view the group members.
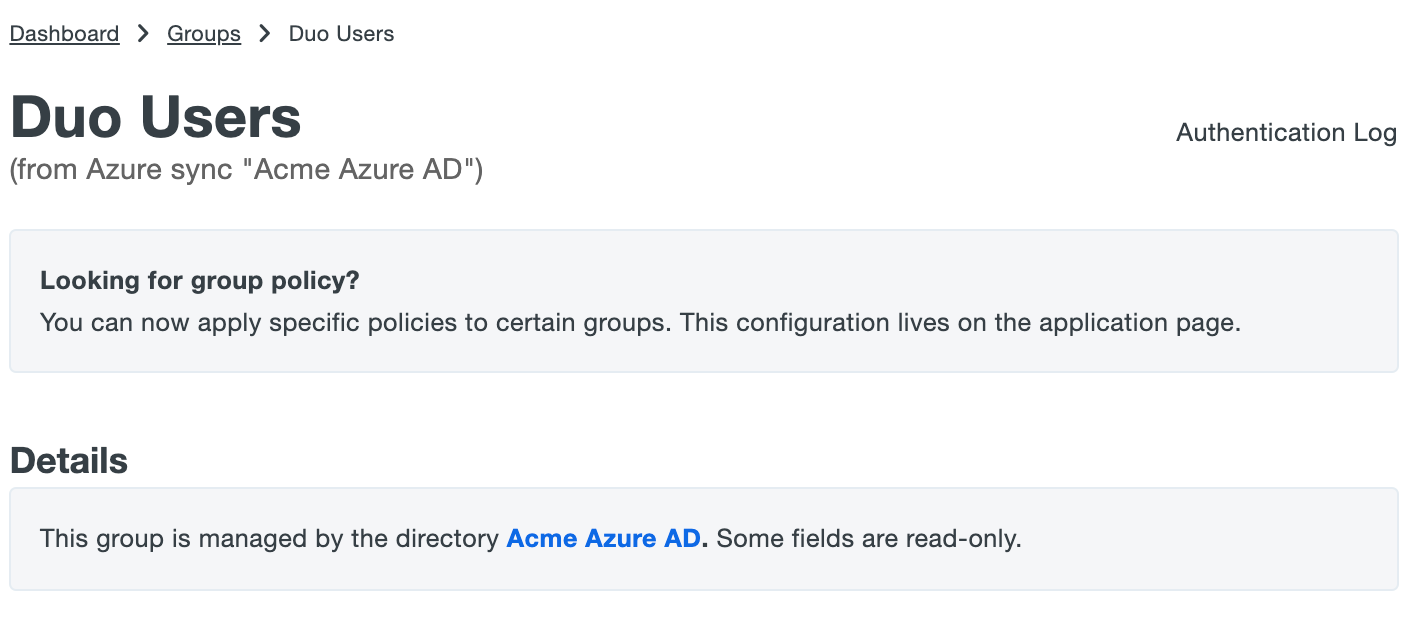
Groups managed by a directory sync indicate which sync manages the group on the details page, and reminds you that some information can't be changed manually. Most updates to sync-managed groups must be imported from the source directory, like a change to the name or to the group members.
Creating a Group
Role required: Owner, Administrator, or User Manager.
You can create Duo groups in multiple ways:
- With the Duo Admin Panel, documented below.
- With a CSV import of users with groups, see Importing Users.
- With an automated sync of groups from an existing Azure AD tenant or on-premises Active Directory domain or [OpenLDAP directory](/docs/ldapsync]. Note that members and some other properties of Duo groups synced from an external directory cannot be edited from Duo and must be imported from the synced directory.
- Programmatically via Duo's Admin API.
To manually create a new Duo group:
-
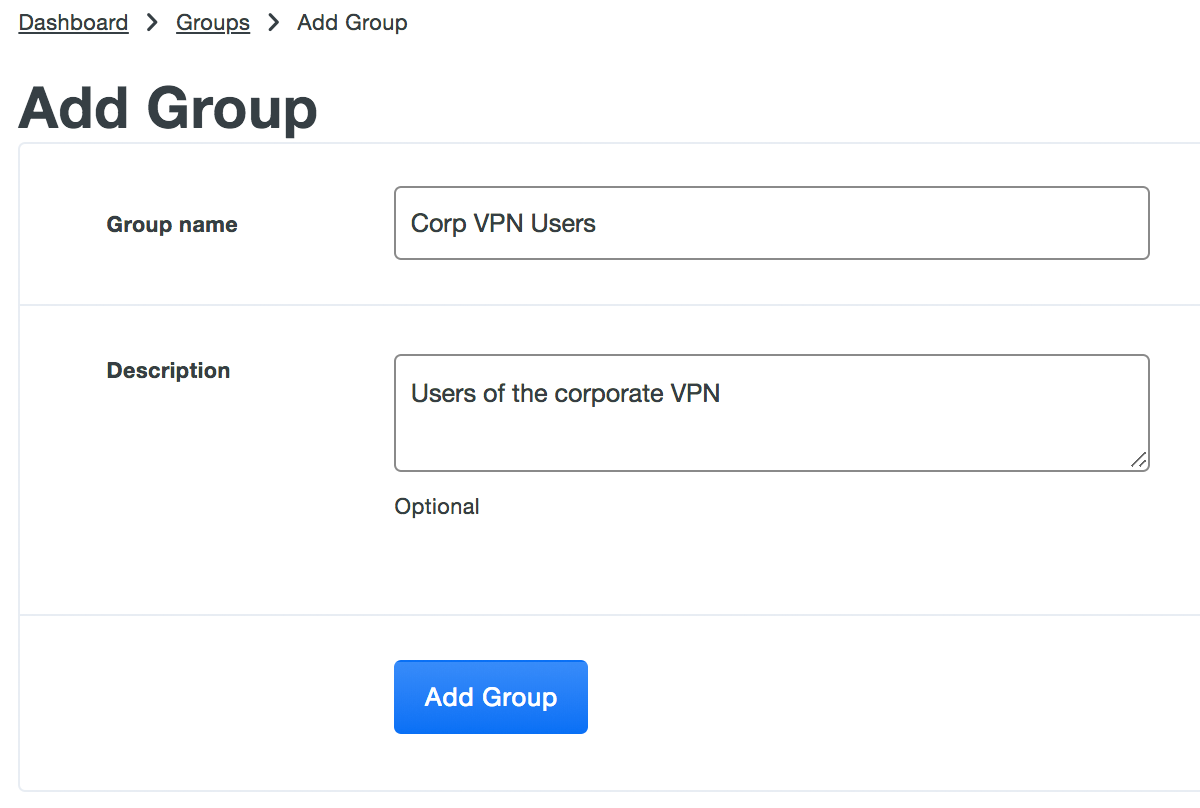
Click Add Group from the Groups page. From the Dashboard page you can click the Add New... button in the top right and then click Group. Otherwise, click Groups in the left sidebar, then click the + Add Group button or the Add Group submenu item in the left sidebar.
-
Then enter a unique name for the group. You can optionally add a description for the group; this can be particularly helpful if you have numerous groups because you can sort them alphabetically by description.
-
Click Add Group to create the new group.
Group Settings
Role required: Owner, Administrator, or User Manager.
Once you add a group, you'll be able to set its status:
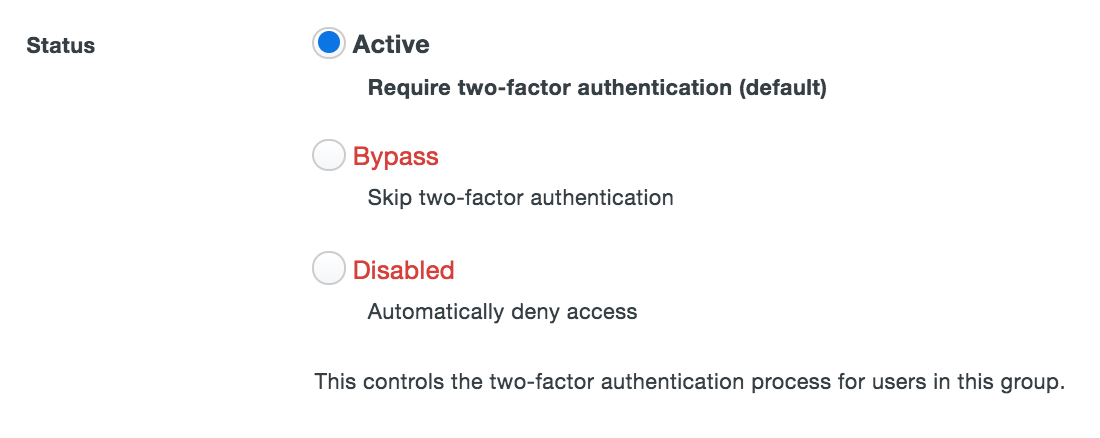
Note that there can be differences between the group status and an individual user's status. Duo compares the individual user's status and the status of all groups that user belongs to when determining the effective status.
For example, a group could have a status of Disabled and a user who is a member of that group could have a status of Active. The effective status of that user is Disabled. Conversely, if a user is Disabled and is added to a group whose status is Enabled, that user remains Disabled.
Bypass status means that the user is not required to use two-factor authentication and is not subject to any policy settings restricting access when logging on to a protected resource. When a user's status is Bypass but the user is a member of a group whose status is Disabled, or if the user is Disabled and is a member of a group that is set to Bypass, the user's effective status is Disabled. Bypass status of a user or group takes precedence over Active status of a user or group. If a user is a member of a group with Bypass status and a group with Active status, then the Bypass status is effective and the user is not prompted for two-factor authentication.
The Locked Out status overrides any other group or user status. Users can be unlocked from the Duo administrative interface. Lockouts occur when a user exceeds the allowed number of failed authentication attempts.
| User Status | Group Status | Effective Status |
|---|---|---|
| Locked Out | Any | Locked Out - user cannot authenticate |
| Disabled | Any | Disabled - user cannot authenticate |
| Any | Disabled | Disabled - user cannot authenticate |
| Bypass | Active | Bypass - two-factor authentication not required |
| Active | Bypass | Bypass - two-factor authentication not required |
| Active | Active | Active - require two-factor authentication |
If the group status overrides the user status, there will be a special display on the user page indicating this.
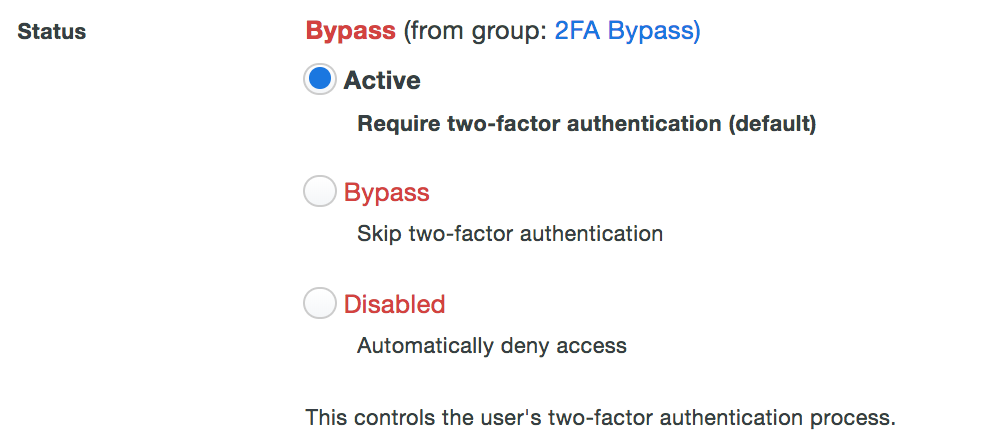
The "Status" column on the Users page lists the effective status for each user as well.
Using Groups to Manage Application Access
Role required: Owner, Administrator, or Application Manager.
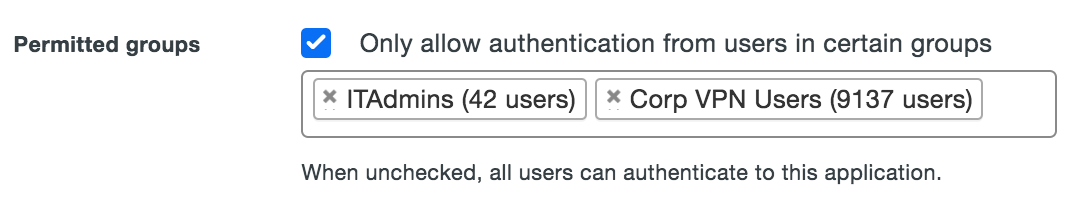
When you create an application in Duo, all existing Duo users may authenticate to that application. You can restrict access by allowing just one or more selected groups of Duo users to access that application with 2FA. Click on the application of interest from the Applications page (or search the application by name from the search bar at the top of the Admin Panel) to reach the application's properties page. Check the box for Permitted groups, and select the groups permitted for that application. Saving this change blocks active Duo users who aren't members of the selected groups from accessing that application.
Note that when this setting is configured it only applies to users who exist in Duo with "Active" status. This does not affect application access for existing users with "Bypass" status, existing users for whom the effective Authentication Policy for the application is "Bypass 2FA", or users who do not exist in Duo when the effective New User Policy for the application is set to allow access to unenrolled users.
Adding Users to Groups
Role required: Owner, Administrator, or User Manager.
Before adding users to a group with Active status you may first want to set group restrictions on your applications.
When using directory synchronization with Duo, you have already imported users and their groups as part of the group synchronization process. When Directory Sync manages a group, membership changes must originate from the source directory.
A Duo user can be a member of up to 100 groups.
Add Existing Users to a Group
To add users to a single group from the Users page:
-
Click Users in the Duo Admin Panel.
-
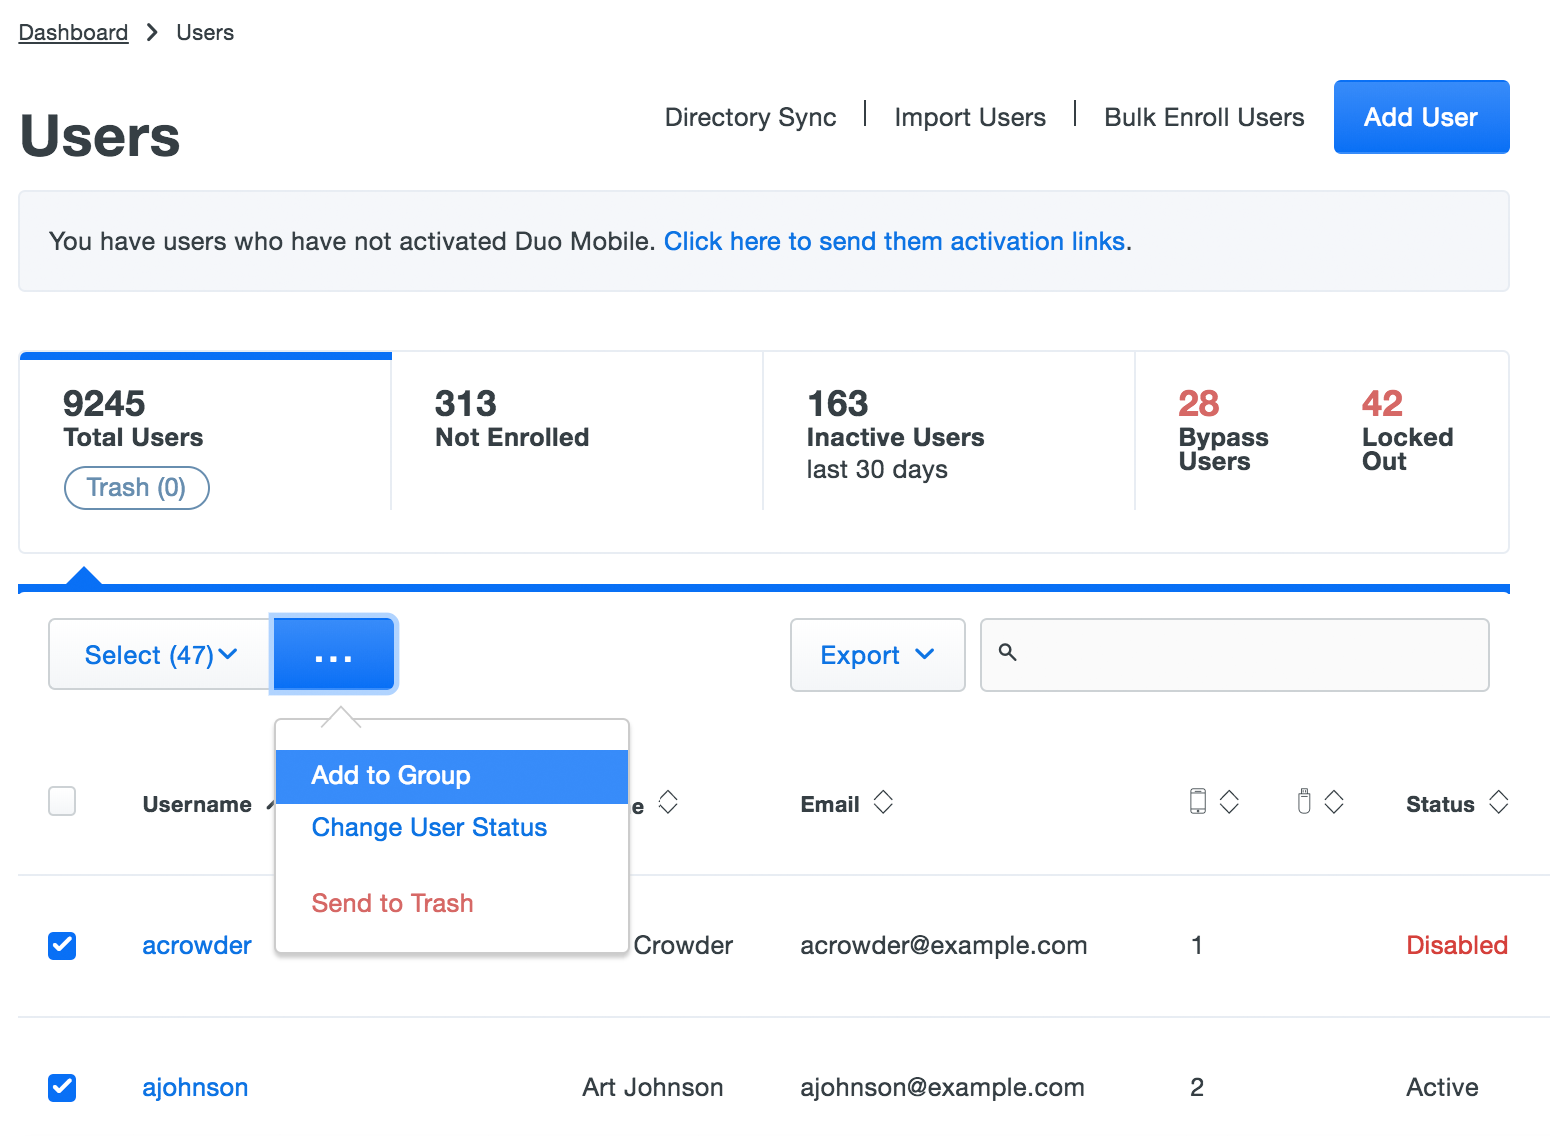
Select individual users from the Users page by checking the boxes in the left-hand column (or use the Select (0) button to select all of your users).
-
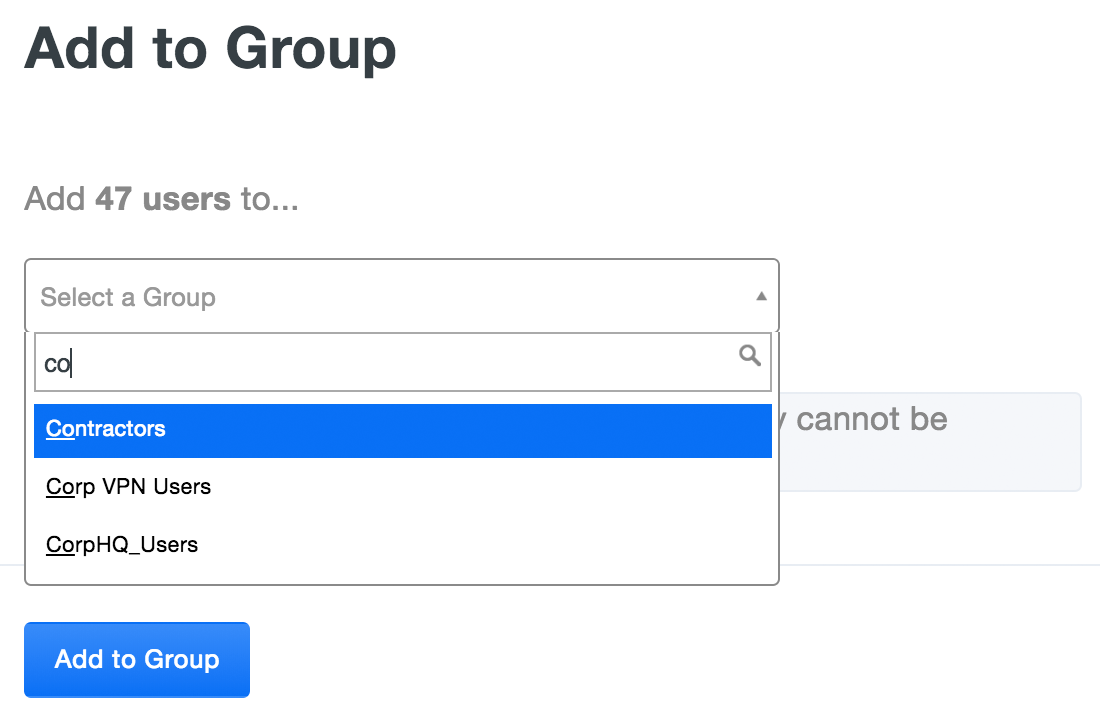
Click the bulk action button (...) and then click Add to Group.
-
Choose the desired group from the list (you can type in a group name to filter the list), and then click the Add to Group button.
To add users to a single group from the group details page:
-
Click Groups in the Duo Admin Panel.
-
Locate the group whose membership you want to modify in the list of groups (or search for the group by name).
-
Click on the group name to view its details.
-
Scroll down the page and click the Add Users to Group button.
-
Start typing in a Duo username to search. The search results exclude users managed by directory sync, as their group memberships may only be modified by the sync.
-
Click the Duo user to add to the group.
-
Repeat searching for and choosing Duo users until you have made all your selections.

-
Click the + Add X Users button, where X is the number of users you selected. You'll see a success indication when the new member changes have saved.
To add users to one or more groups from the user's details page:
-
Click Users in the Duo Admin Panel.
-
Locate the user whose membership you want to modify in the list of users (or search for the user by name).
-
Click on the user's name to view its details.
-
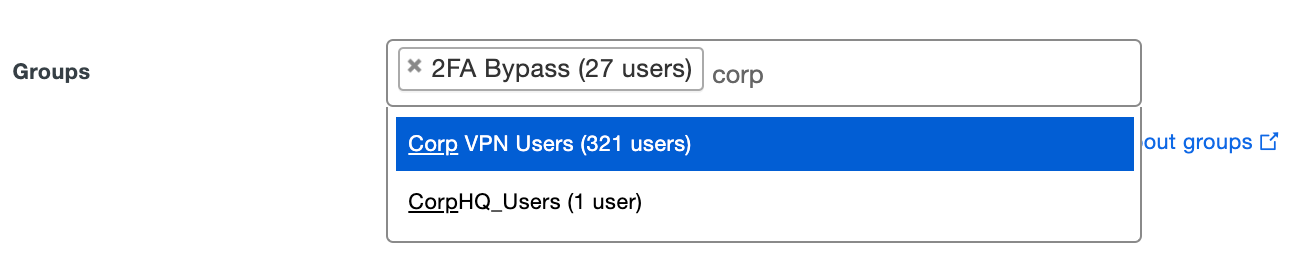
Scroll down the page to the Groups section.
-
Start typing in a Duo group name to search. The search results exclude groups managed by directory sync, as their member list may only be modified by the sync.
-
Click the group name to select it.
-
Repeat searching for and choosing groups until you have made all your selections.
-
Scroll down and click Save Changes.
Import Users to Groups
You can create new groups and update memberships of existing groups with a CSV source file through the Import Users feature. Please see the Import Users page for more information.
Populate a Group Using Directory Sync
When setting up Directory Sync you'll choose groups from your external directory to import into Duo. If a group already exists in Duo with the same name as a directory group chosen for synchronization, Duo updates the existing group's members to match the group members in the external directory, adding or removing Duo users from that group as necessary. When a group is managed by directory sync, the group's name and members cannot be interactively modified from the Duo Admin Panel.
Deleting a Group
Role required: Owner, Administrator, or User Manager.
To delete a group:
-
Click Groups in the Duo Admin Panel. Click on the name of the group you wish to remove, and then click the Delete Group link to the far right of the group name.
-
Confirm deletion of the group.
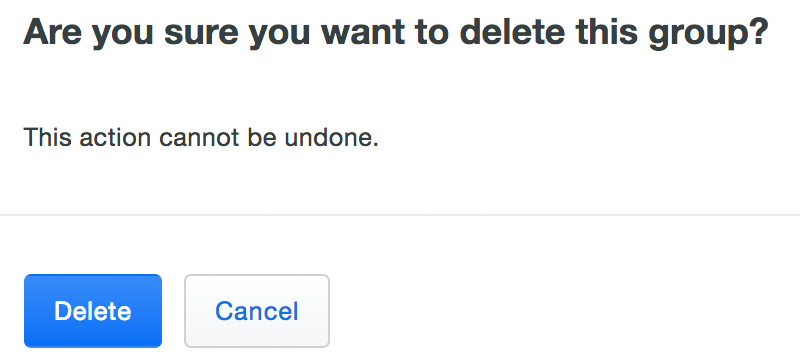
-
The group is deleted.
Groups actively managed by directory sync cannot be manually deleted from the Duo Admin Panel. When a group is no longer managed by directory sync, the group can be deleted just like a manually-created group.
Restricting Authentication Methods for Groups
Use the policy editor to change the "Authentication Methods" policy setting globally or for specific applications and groups of users. See the Policy & Control documentation for more information.
Troubleshooting
Need some help? Try searching our Knowledge Base articles or Community discussions. For further assistance, contact Support.